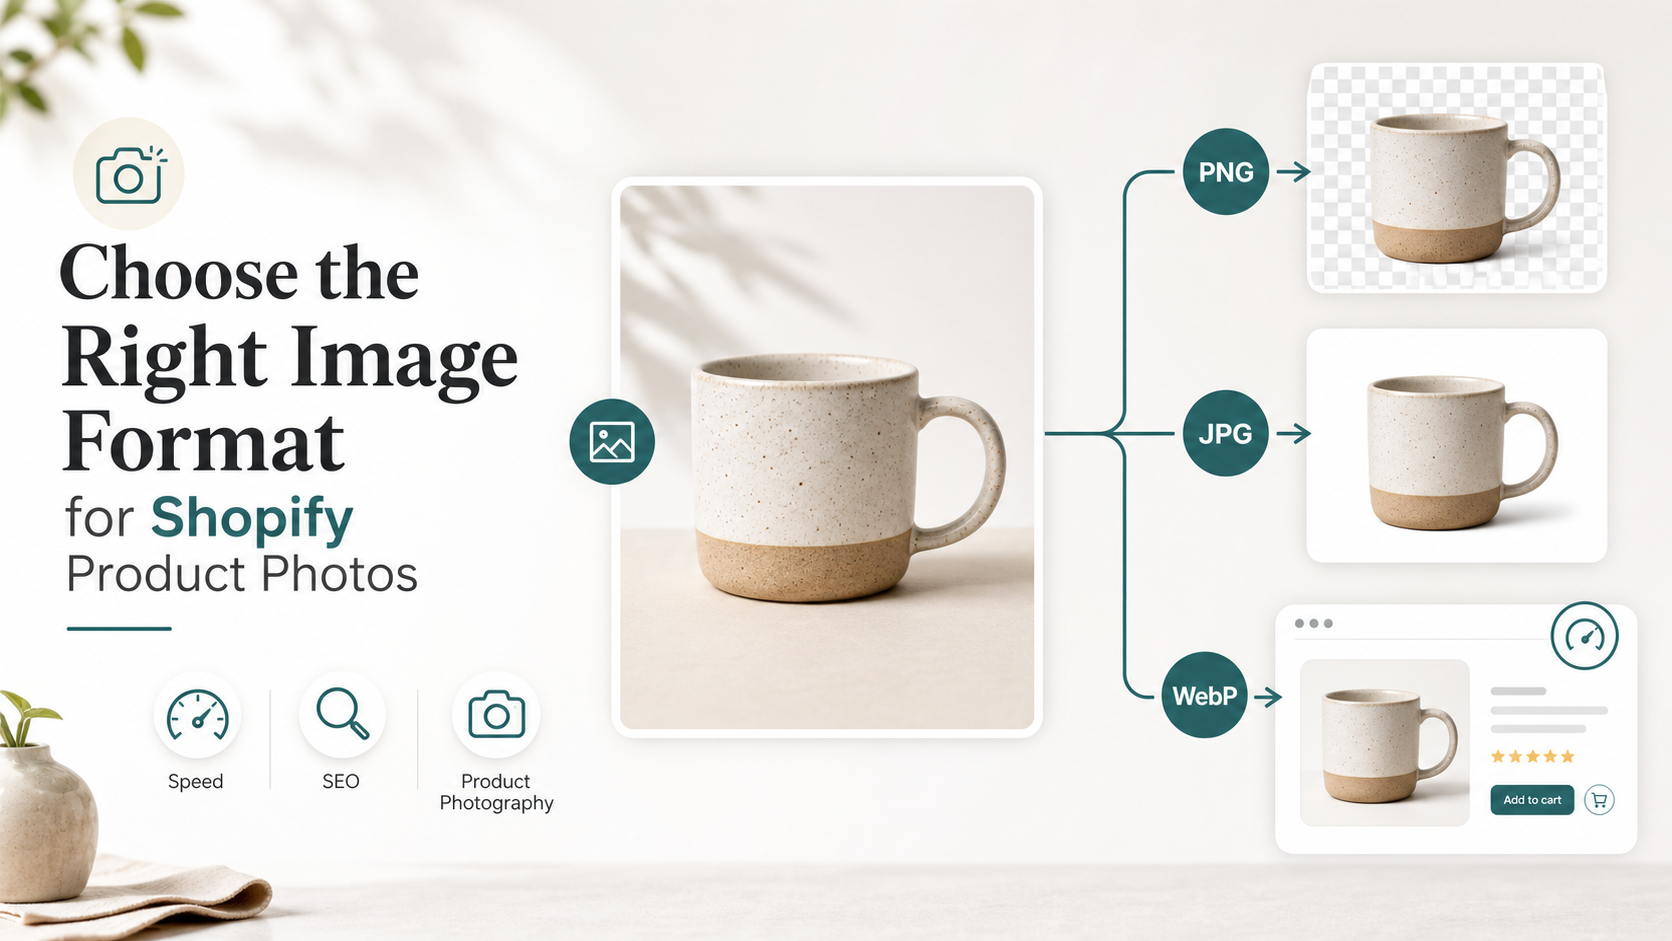
PNG vs JPG vs WebP for Shopify Product Images: What Should You Upload?
2026-06-02 • snapedit team • 6 min read
If you run a Shopify store, one question comes up constantly: should product images be uploaded as PNG, JPG, or WebP?
The short answer is:
- Use PNG when you need transparency.
- Use JPG for standard photographic product images on fixed backgrounds.
- Use WebP when your workflow or platform supports it cleanly for final web delivery.
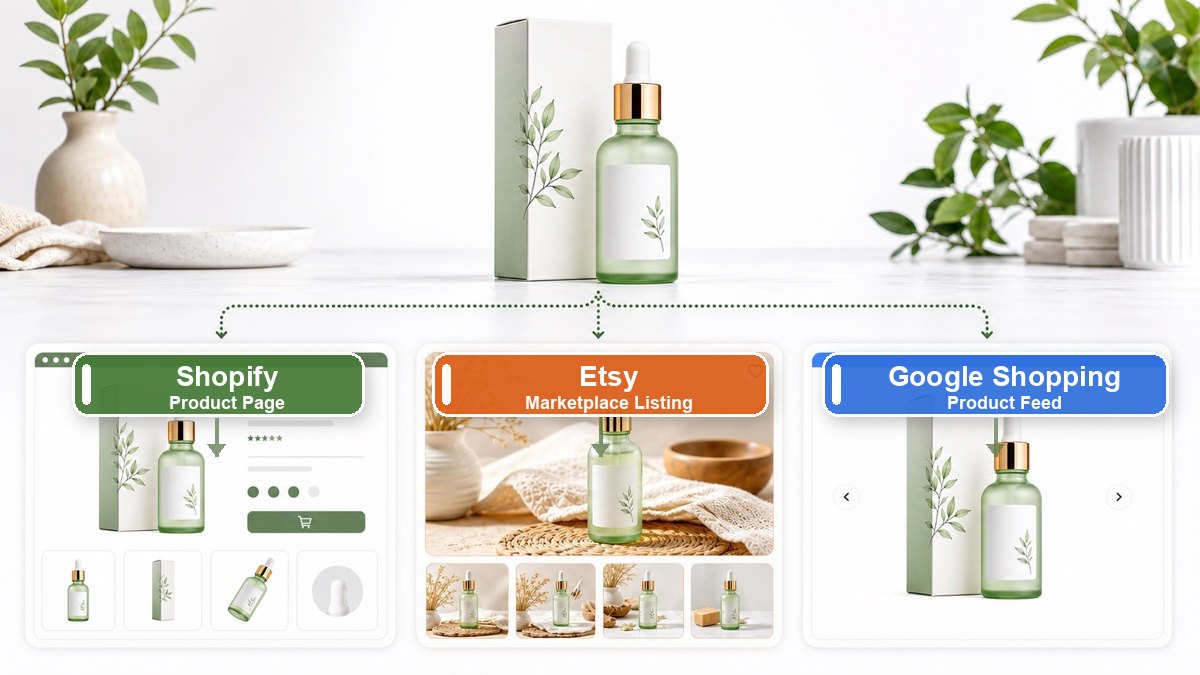
For most merchants, the real goal is not picking one format forever. It is building a workflow that keeps images sharp, fast, and easy to reuse across product pages, collections, ads, and Google Shopping.
Why this question matters in 2026
Search intent around image formats is stronger now because store owners are balancing three things at once:
- image quality for conversion
- page speed for mobile shoppers
- flexible assets for marketplaces, ads, and AI-assisted creative work
Shopify now supports modern image handling well, but format choice still matters at the source-file level. If you upload the wrong type too early, you can create extra work later.
Quick answer: which format should you use?
Here is the practical version:
| Use case | Best format | Why |
|---|---|---|
| Product cutout with no background | PNG | Keeps transparency for reusable product assets |
| Main product photo on white background | JPG | Smaller file sizes for regular photos |
| Logos, icons, badges | PNG | Better for flat graphics and transparency |
| Final storefront delivery | WebP | Good compression when supported |
| Editable master for future background swaps | PNG | Lets you reuse the same product on multiple backgrounds |
If you only remember one rule, remember this: keep a transparent master when you need flexibility, then export lighter final versions for the web.
What Shopify actually supports
Current Shopify documentation says merchants can upload common formats including JPEG, PNG, and WebP, and Shopify automatically serves the best supported format to the customer’s browser. Shopify also recommends high-resolution product images, with 2048 x 2048 px commonly working well for square product photos.
That changes the decision slightly. You do not need to obsess over forcing every asset into one format just for delivery. Instead, you should focus on uploading the best source file for the job.
When PNG is the right choice
PNG is the best choice when the image needs a transparent background.
That matters for:
- product cutouts used across different page sections
- hero banners with custom backgrounds
- layered graphics for sales campaigns
- product bundles and collages
- creator assets, thumbnails, and design handoff
PNG is also useful when you want a reusable product master file. If you remove the background once and keep the transparent version, you can place the same item on white, beige, seasonal, or branded backgrounds later without cutting it out again.
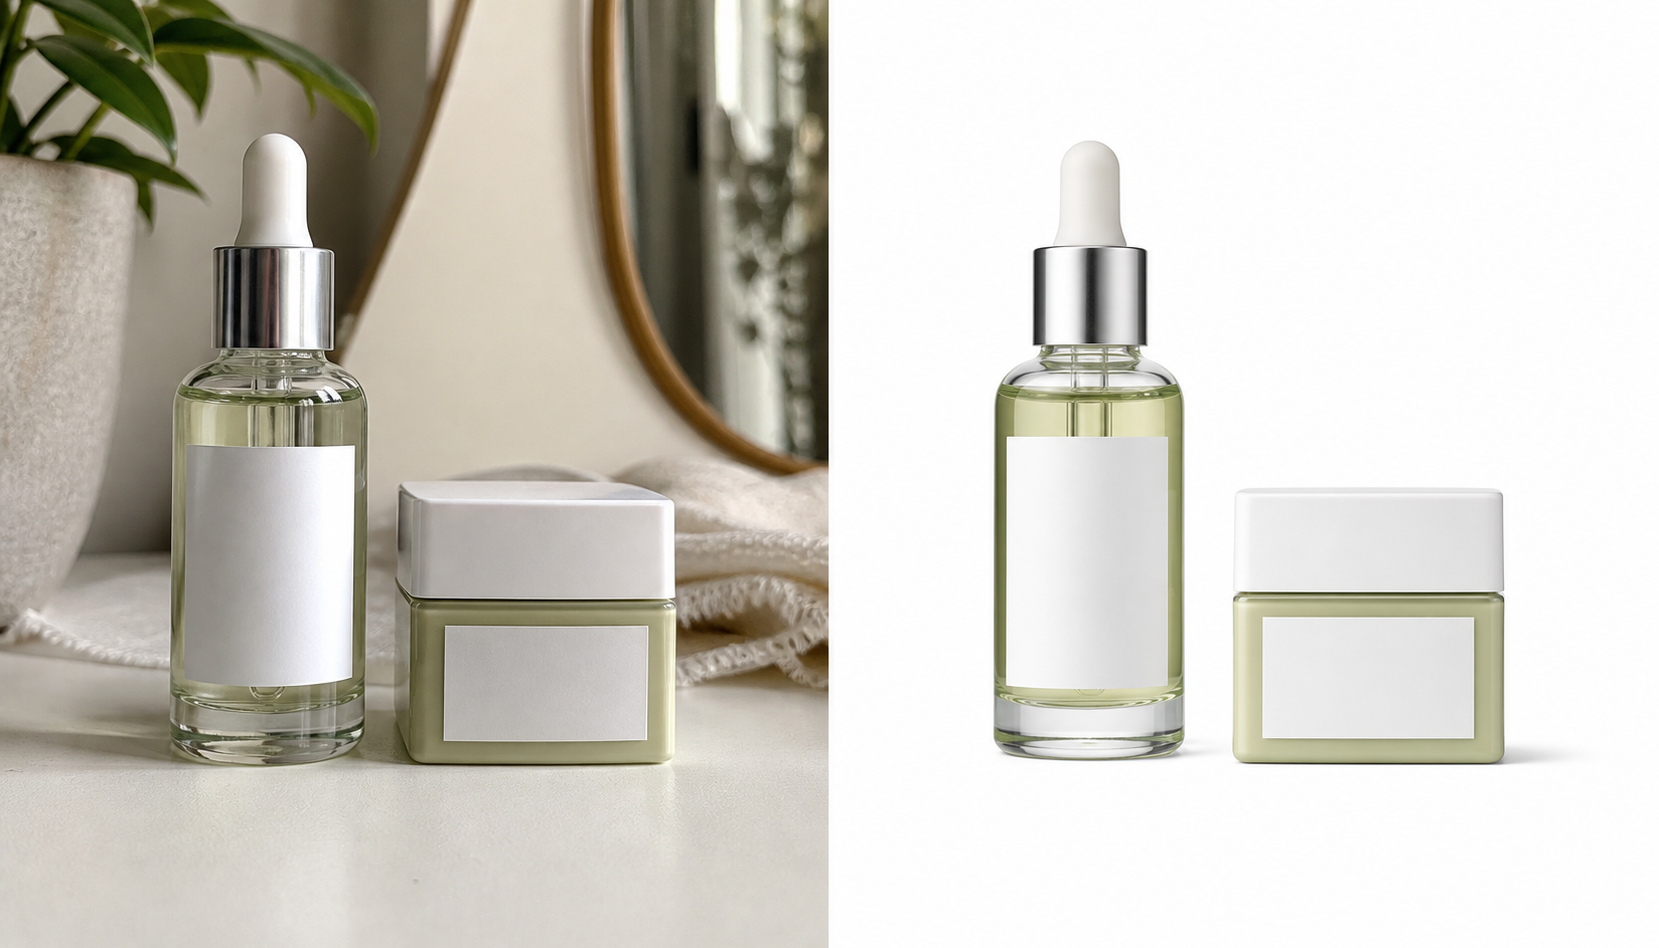
This is where SnapEdit’s background remover fits naturally. You can create a transparent PNG first, then decide where a white-background export, lifestyle composite, or resized storefront image should come next.
When JPG is the better choice
JPG is usually the better option for standard product photography that does not need transparency.
Use JPG for:
- main product shots on white backgrounds
- lifestyle product photos
- banners and blog visuals
- catalog images that are purely photographic
JPG files are generally smaller than PNG files for photo-heavy images, which makes them practical for ecommerce pages with many products.
If your image already has a fixed white background and you do not plan to reuse it as a cutout later, JPG is often the simplest final format.
Where WebP fits in
WebP is best understood as a delivery-friendly format, not always the best master format.
In practice, many stores now use this workflow:
- Keep the original or edited master in PNG or JPG.
- Upload that clean source to the platform.
- Let the storefront or CDN serve optimized formats like WebP automatically where supported.
That means WebP is important, but not always the first format decision you need to make. For most merchants, the bigger decision is whether the image should stay transparent or flattened.
Best workflow for Shopify product images
If you want a practical system instead of a format debate, use this:
- Start with the highest-quality original product photo you have.
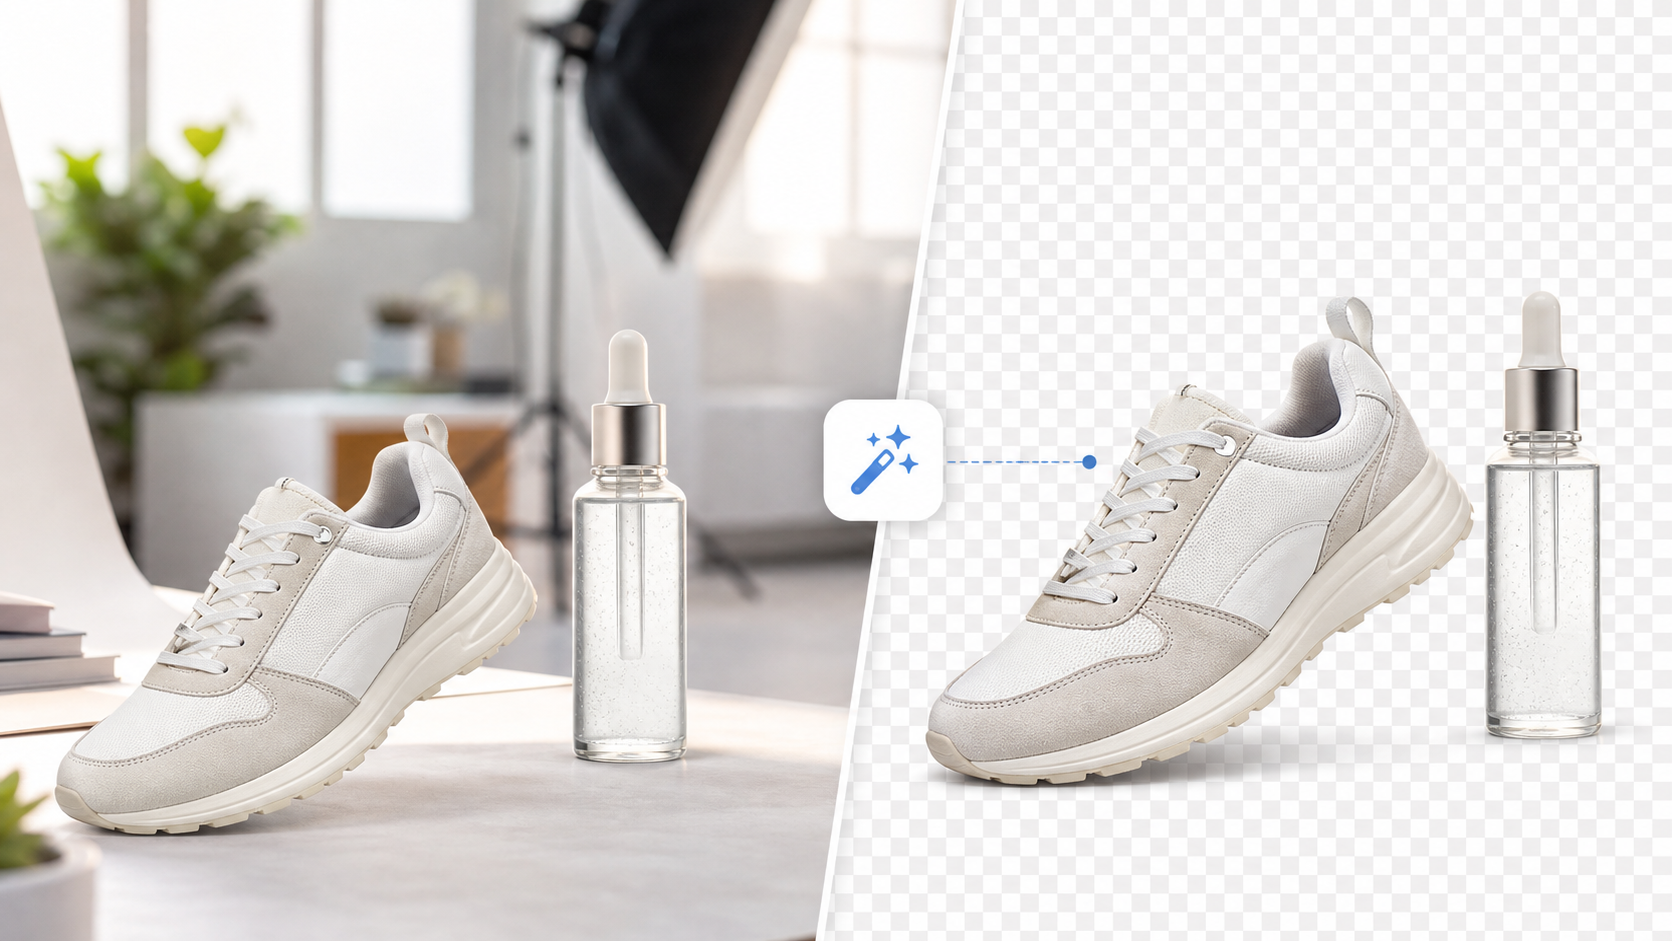
- Remove the background if you want a reusable cutout.
- Save that cutout as a transparent PNG master.
- Export a white-background or scene-based version for the product page.
- Use JPG for standard final photos when transparency is no longer needed.
- Use an upscaler if the source image looks soft before publishing.
This workflow keeps your options open. It also reduces repeated editing later when you need the same product for Google Shopping, a homepage banner, a sale graphic, or a social post.
If the source image is too small or soft, SnapEdit’s image upscaler is the right step before publishing the final asset.
What about Google Shopping and product feeds?
For merchants who sell through Google, image compliance matters just as much as aesthetics.
Current Google Merchant Center guidance recommends:
- strong, high-quality product images
- white or transparent backgrounds in many cases
- product-focused framing
- images near or above 1500 x 1500 px for stronger performance
That means format choice should support compliance, not fight it. If your listing image needs to look clean and consistent across Google surfaces, keep the workflow simple:
- transparent PNG for your reusable master
- white-background export for your main listing where needed
- high-resolution final asset for shopping feeds and storefront use
The SEO angle most stores miss
The image format itself is only part of image SEO.
Google’s image SEO guidance also emphasizes:
- descriptive filenames
- useful alt text
- relevant surrounding page content
- crawlable HTML image elements
So instead of uploading files named IMG_4832.png, use filenames like:
ceramic-mug-white-background.jpgceramic-mug-transparent-cutout.pngceramic-mug-summer-promo-banner.jpg
That helps your image workflow stay organized and gives search engines clearer context.
Common mistakes to avoid
- Uploading PNG for every product photo, even when transparency is not needed
- Saving only a flattened JPG and losing the reusable transparent master
- Upscaling after multiple exports instead of improving the best source file first
- Using very small product images and expecting Shopify or AI tools to rescue them completely
- Treating WebP as a magic fix when the original image is weak
The format cannot fix bad lighting, inaccurate color, or blurry source photos. It only affects how well a good image survives the rest of your workflow.
Final recommendation
If you are deciding between PNG, JPG, and WebP for Shopify product images, use this rule:
- choose PNG for transparency and reusable cutouts
- choose JPG for standard product photos on fixed backgrounds
- treat WebP as an efficient delivery format, not your only master format
For most modern ecommerce teams, the best setup is to create a clean transparent PNG master, export the versions each channel needs, and sharpen weak source files before publishing.
If you need to build that workflow quickly, start with SnapEdit’s free background remover for the cutout and AI image upscaler for the final polish.